Hot Pink Shellac


It’s been a while since I’ve posted. I’m not sure if I mentioned but I started a new job and my nails have to be pretty ‘professional’ so I haven’t been experimenting with much lately. But I recently had an event so went and got my nails done at the salon.

These are ‘shellac’ nails, which is a pretty recent development in the manicure world. See this article for more information: http://www.komonews.com/news/consumer/122994693.html . To be honest, I went into the salon expecting to get just normal polish applied to my nails but the manicurist talked me into shellac. I got a hot pink colour (I’m sorry I don’t know the name..it was my first time at this salon and the staff were quite pushy and uninformative). What they did was soak my nails, apply a base coat and run it under their UV light, apply two coats of the polish and let it dry under the UV light between coats and then apply a top coat.  

I do love the colour and love how smooth and thick it feels. When doing my nails on my own, they’ll chip after two days even if I use two coats of base polish and two coats of top polish. But after reading this article, I am just finding out that I can’t remove the polish on my own and will have to go in to get it removed by them for a fee. I’ll keep you updated on the process of removing the colour.


Image

Spring 2013 Nail Trends

I’ve been taking a break from doing my nails because it takes me a long time to get my nails nice and long, without them chipping or breaking. So in the meantime, I’ve been reading about spring trends for nails. To be honest, I’m not too excited about the trends as they seem minimalist or dated to me so I’ll probably just play around with the trends and colours I personally enjoy. But have a look at some trends below. (all images from Harper’s Bazaar)

Pale Nails


The Dark Side


Flashes of Metallics


Two Tone Manicure


Edgy Elements


What do you think of these trends? Hopefully, I’ll post soon with some of my own nail designs.

Check out the Harper’s Bazaar article here: http://www.harpersbazaar.com/beauty/makeup-articles/nail-trend-report-spring-2013#slide-1

Valentine’s Nails

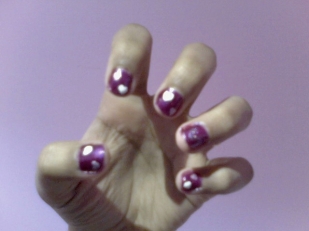
For Valentine’s Day, I decided to do something a lot simpler than the usual  pink and red combo. Because I have short nails this time, I needed something a lot simpler and less bold so it would be appropriate for the office.


What I’m Using:

  • Sally Hansen Hard as Nails Xtremewear in Nail Colour 14: Plum Power

Image from target.com

  • Sally Hansen Hard as Nails Xtremewear in Nail Colour 05: Rockstar Pink

Image from target.com

  • ‘Nearly Nude Natural Colour’ (white nail polish on the left) from the Sally Hansen French Manicure Kit.

Image from amazon.co.uk

  • Sally Hansen Hard as Nails Xtremewear in Colour 425: Pink Satin

Image from polyvore.com

  • Sephora Collection Marbling and Dotting Tool

Marbling and Dotting Nail Tool

Image from sephora.com


After applying your base coat to your nails, begin by applying two coats of Plum Power to your entire nail.

Image

Next, using Rockstar Pink, create a heart on your ring fingers. This can be done by making a v shape and rounding the edges.

Now, I’ve used the Sephora Marbling and Dotting Tool to draw one white heart on each of my nails (except the ring fingers).

Image

Again, I’ve used the dotting tool along with Pink Satin to draw hearts on each of my nails (except the ring fingers) on the opposite corner from the white heart. 

And finally, I’ve finished it up with a layer of top coat.

Image

Turquoise Green Manicure

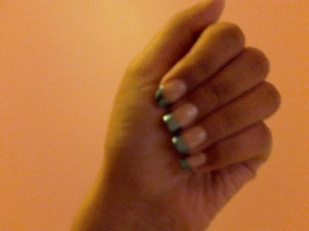
I went to a wedding this weekend and decided to do a simple manicure to match my dress which was an emerald/turquoise colour.

What I’m Using:

  • Sephora by OPI Nail Colour in ‘Mermaid to Order.’

SEPHORA by OPI - Nail Colour

Image from sephora.com

  • ‘Nearly Nude Natural Colour’ (nail polish on the right) from the Sally Hansen French Manicure Kit.

Image from amazon.co.uk

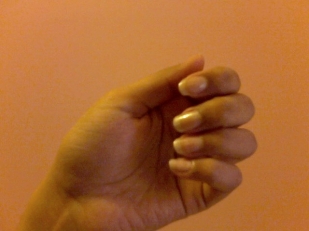
Begin by applying base coat to your nails.

Using your Nearly Nude Natural Colour, apply either one or two coats, depending on your preference, to the entire nail.

Image

Once that’s dry, apply Mermaid to Order to the tips of your nail. You can use tape as a guide, and a toothpick to help smooth out the polish if you make a mistake. I’ve used two coats of this colour because only one coat is somewhat translucent.

Image

Let the polish dry and apply your top coat.

Et voila!

2013-01-21 17-10-32.123

Pink/Black French Manicure

Image

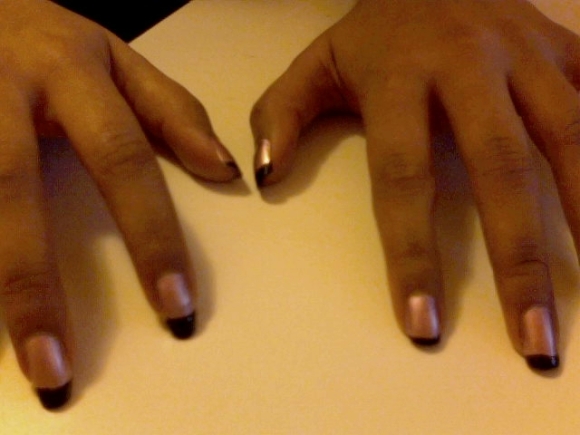
Using any colour nailpolish you own, you can add a simple twist to the classic French manicure just by adding pops of colour!

What you’ll need:

  • base coat, top coat
  • two nail polish colours

I’m using Sally Hansen Hard as Nails Xtremewear in Colour 425: Pink Satin, and Misa Nail Art in Colour 30: Point of No Return

Image

2013-01-01 20-24-44.977 2013-01-01 20-25-09.024

Start off by applying your base coat to your nails. Base coat helps protect your natural nails from the polish.

Then, apply your primary colour (in my case, Pink Satin) to your entire nails. Apply two coats for a more intense, polished look.

Take your secondary colour (Point of No Return) and paint a stripe along the tips of your nails and fill them in.

I’ve used the opposite colours on my ring fingers to add some contrast. You can choose whatever style and pattern you prefer.

Apply your top coat to lock in the colour and voila!!

Image